Approving custom water bottle packaging samples is the point where a flexible design becomes a repeatable purchasing specification. Before a printer produces thousands of boxes, the buyer needs more than an attractive photograph. The sample should establish which bottle configuration fits, which artwork revision will be printed, how the accessories are packed, and what evidence supports the final release.
A box can look correct while holding the wrong lid version. A neatly printed sample can use a different board from the proposed production material. An approved front panel can still sit beside an outdated care statement or an incorrect product code. Each problem becomes harder to correct after printing, cutting and assembly have begun.
This guide focuses on the decision to release packaging for production. It is for private-label brands, importers, promotional buyers and retail teams that have already selected a packaging direction. The goal is a short, traceable approval package that connects the physical sample to the exact files and construction the supplier will use.
What custom water bottle packaging samples should prove
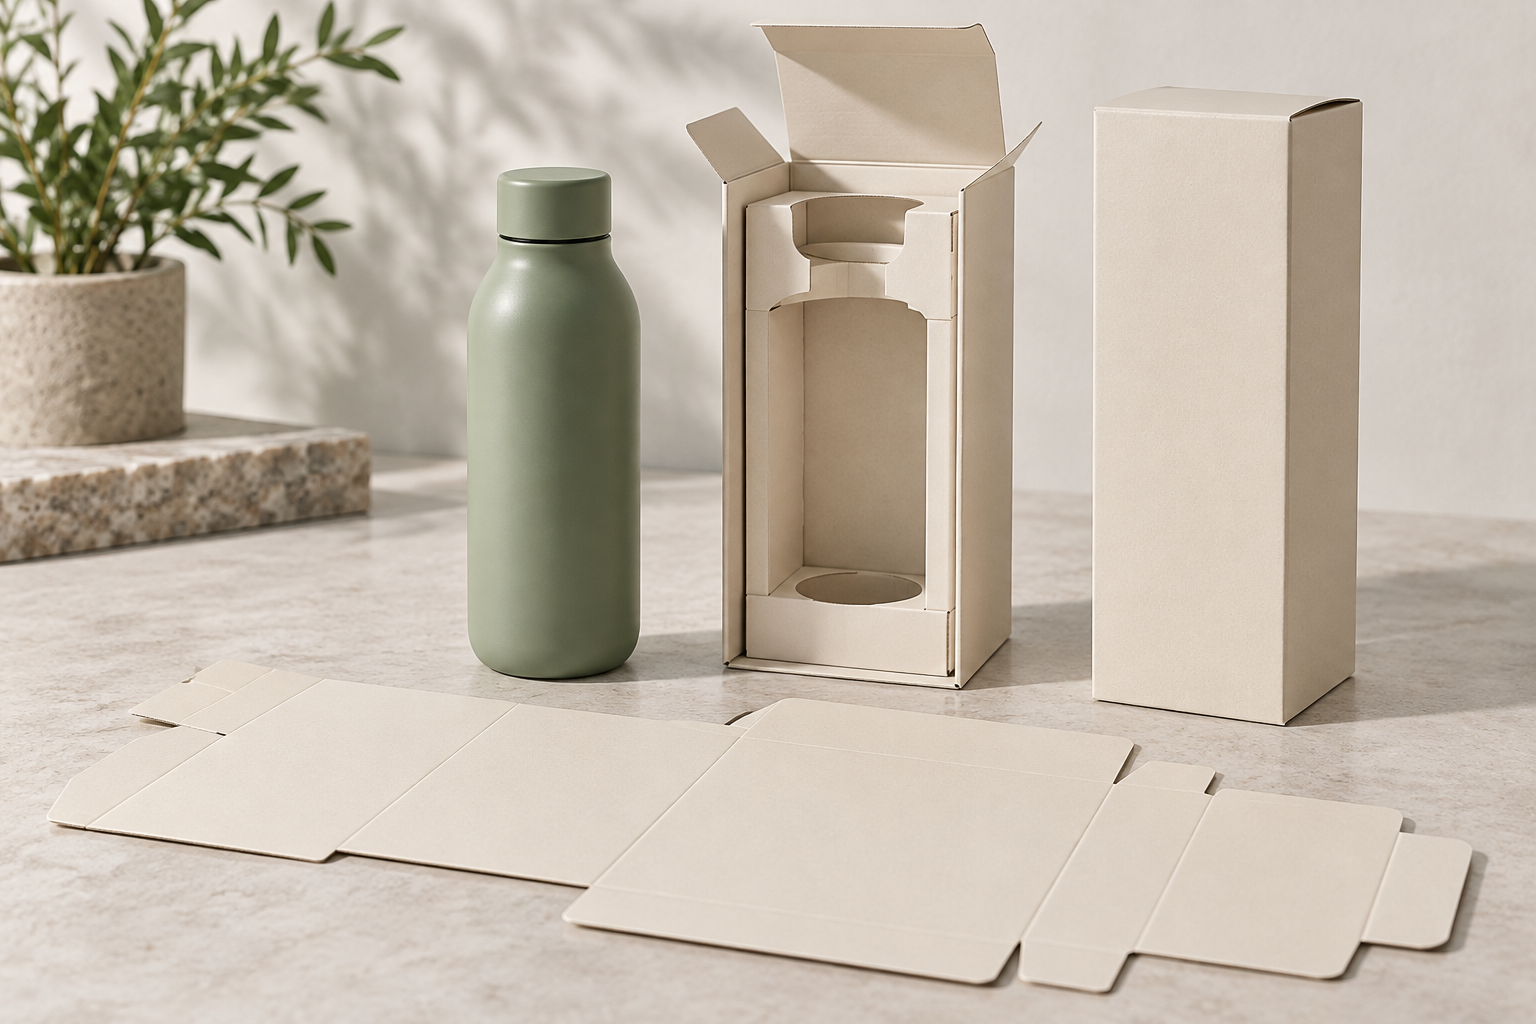
Ask the supplier to describe the purpose of every sample before it is shipped. Is it a structural dummy for checking dimensions, a printed mockup for reviewing layout, a colour reference, or a production-representative pack? The names are less important than a written explanation of the materials and processes used, the differences from production, and the questions the sample can answer.
A single sample does not automatically settle every requirement. For example, a plain carton can be useful for checking whether a bottle and brush fit together, but it cannot establish the appearance of printed artwork. A digital mockup can reveal an upside-down panel, but it cannot demonstrate how the real closure behaves when the box is filled.
Define approval in separate parts: structure, printed information, appearance, packing method and distribution performance. Those decisions can be reviewed together, but each needs suitable evidence. Avoid a general message such as “sample approved” when one of these areas remains unresolved.
| Sample or evidence | Useful approval question | What remains to be checked |
|---|---|---|
| Plain structural dummy | Does the selected product and insert fit the proposed construction? | Printed appearance and any differences in production board or assembly |
| Artwork PDF on the agreed dieline | Are the wording, panels, identifiers and artwork revision correct? | Physical fit, final substrate appearance and packing behaviour |
| Printed mockup | Is the assembled layout readable and commercially appropriate? | Whether its print process and materials represent the production result |
| Production-representative sample | Does the agreed combination of material, printing and construction meet the brief? | Ongoing production consistency and any separately required distribution evaluation |
| Documented packaged-product evaluation | Does the tested combination meet the defined distribution acceptance criteria? | Whether later product, package or process changes affect that evidence |
If you are still choosing between folding cartons, gift boxes and other formats, first review the packaging options for custom insulated bottles. Once that direction is selected, use sample approval to define the particular version you are buying.
Freeze the bottle configuration used for the fit check
Measure the complete sellable product
Use a bottle that represents the intended order, including its actual lid, handle, base accessory and any protective covering. A bottle body without its final lid is an incomplete fit reference. Record the model identifier, capacity, lid revision and accessory list beside the packaging sample number so that another reviewer can reconstruct the combination.
Check the widest and tallest points rather than relying only on the body diameter and nominal capacity. A protruding handle, raised drinking mechanism or silicone boot can change the space needed. Also record the orientation of movable parts during packing. A handle folded down in a sample photograph may be left upright by a packing operator unless the instruction specifies otherwise.
The supplier should identify the dimensions and tolerances needed for the selected design. Do not invent a universal clearance that applies to every bottle or board construction. Ask how normal variation in the product and carton will be accommodated, especially if the sample fits only when pushed firmly into place.
Include everything that travels in the retail box
Place the instruction leaflet, spare gasket, straw, brush or gift card in its intended position. Check that each item can be loaded without scraping the bottle, bending the leaflet beyond usability or forcing the closure. An accessory that is omitted during approval may become a loose object beside the finished product during delivery.
Review the removal sequence as well as loading. The buyer should be able to open the carton, find the instructions and remove the bottle without tearing a structural part that is supposed to remain intact. If a small accessory sits under an insert, establish how the customer will notice it. A packing diagram can make this clear without adding unnecessary components.
For a collection with multiple capacities, create a model-to-packaging matrix. Do not assume that a box approved for one bottle automatically covers a taller version or a different cap. List the combinations that share a structure and those requiring a separate insert or carton, then ask the supplier to demonstrate the proposed grouping.
Inspect the insert, closure and contact surfaces
The insert should locate the product in the way the design intends. Inspect contact around the shoulder, base, lid and any decoration. Ask whether the bottle rests on structural support or hangs from a delicate component. Look for concentrated pressure, uncontrolled movement and sharp cut edges near surfaces that the customer will see.
Remove and replace the bottle several times as a practical assembly review. Observe whether the insert folds predictably, whether tabs remain engaged and whether the box closes without distortion. This is a development check, not a substitute for a defined transport test. Record the observations and ask the supplier to explain any adjustment needed before release.
Inspect glue joints and closure details on the sample. Confirm which joints are pre-glued and which operations happen on the packing line. A hand-assembled sample may conceal an awkward packing step or an unsupported flap. Ask for the intended assembly sequence and check that it is compatible with the actual product and accessory loading order.
Pay particular attention to contact with printed logos, coated surfaces and lid mechanisms. A sleeve or protective layer may be part of the proposed pack, but its material and position need to be identified. Avoid approving an unspecified “protective bag” and leaving the supplier to decide its construction after the sample has been signed off.
Specify the board and finish behind the sample
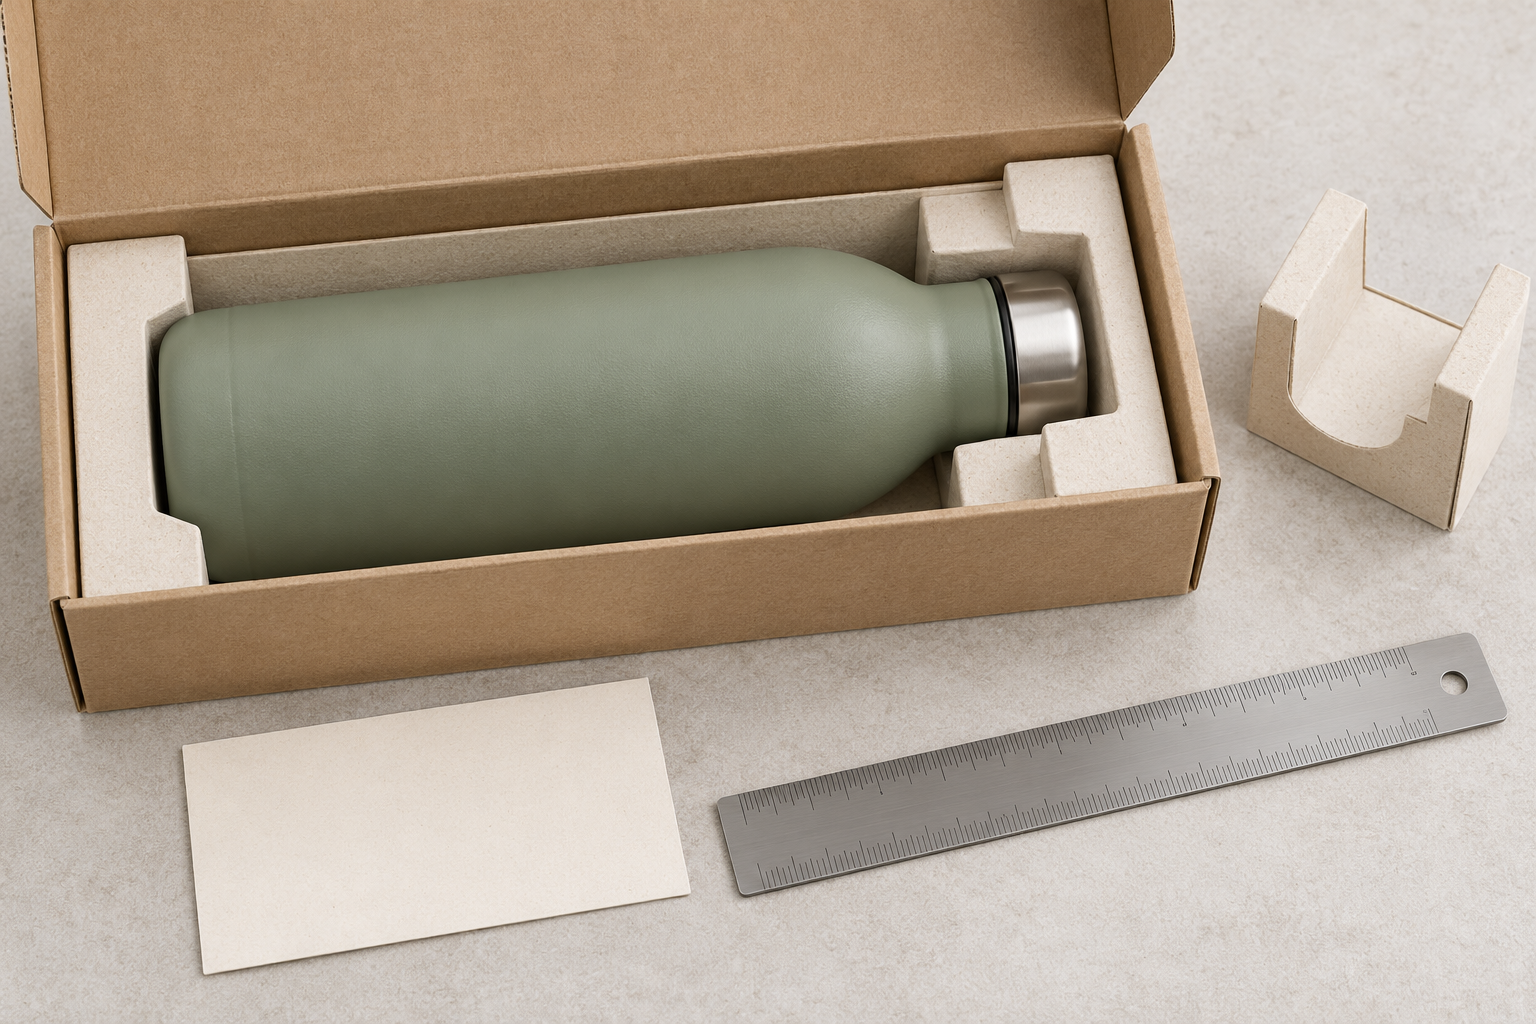
Describe the packaging construction sufficiently for the supplier to quote and reproduce it. Depending on the format, the specification may include board type, thickness or other agreed material characteristics, insert construction, surface treatment, adhesive and closure. Ask the packaging supplier which properties control the result and which tolerances can be supported in production.
Weight per area alone is not a complete description of a finished box. Two samples with similar quoted numbers may differ in structure, finish or assembly. Keep the physical reference together with the written specification and record any substitutions. If the sample uses available stock while production will use another material, approval must identify that limitation.
Review coating, lamination, foil or embossing as separate operations where they are included. Check the areas around folds, edges and glue positions, not just the central display panel. Ask which parts of the sample reproduce the proposed finish and which are simulated. A convincing visual effect in a mockup should not become an unqualified production requirement without discussing how it will be achieved.
Changes to packaging construction may also affect purchasing quantities and costs. Our guide to custom water bottle packaging MOQ explains why the box order can have different minimums from the bottle order. Confirm the commercial impact of revisions before treating the new sample as the final specification.
Review artwork on the assembled box, panel by panel
Lock the dieline and file revision
Identify one current artwork file and one current dieline revision. The printer should confirm that the artwork is placed on the correct structural drawing. Clearly distinguish production artwork from visual guides, cut lines, fold lines and comments, using the printer’s agreed file conventions. The buyer should not assume that a designer’s export is ready for production simply because it opens correctly.
Ask the printer to check the file preparation requirements for the selected process, including image quality, fonts, colours, bleed and safe placement of important content. Avoid applying generic numerical settings without checking the job. What matters is that the approved file meets the actual printer’s requirements and that any printer-made corrections are returned for review.
Keep a readable approval PDF alongside the production file. This helps purchasing and product teams inspect the wording without needing design software. Give both files unambiguous revision names, and make it clear which version supersedes the previous one. Do not leave an old artwork attachment and a corrected attachment in the same conversation without identifying the released version.
Follow the customer’s viewing sequence
Review the front, back, sides, top and base on an assembled sample. A flat layout can hide a panel that reads upside down or a design element that disappears into a fold. Check the relationship between the product name, colour variant, capacity and image. The outer box should describe what the buyer will actually find inside.
Read small information at its final size. Confirm that essential wording is not placed across a seam, under a closure or where an added label will cover it. If a retailer will apply another label, identify that area during approval. A clean design leaves room for the real distribution process instead of depending on an idealised product photograph.
For multiple SKUs, use a controlled artwork matrix linking each product configuration to its file and identifier. Have a second reviewer check the variable fields. It is easy to change a front-panel colour name while leaving the previous capacity or code on the bottom panel. Approval of the master design should not count as approval of every derivative file.
Treat printed claims and identifiers as product data
Assign a named owner to the factual copy. Capacity, material descriptions, included accessories and care instructions should agree with the approved product specification. Packaging should not introduce a dishwasher claim, a performance statement or a compatibility promise that has not been supported for the selected model.
Separate marketing preferences from information that needs specialist review. For the target market and sales channel, ask the responsible compliance adviser or buyer team to identify any applicable wording, symbols, warnings or traceability requirements. This guide is a packaging approval workflow, not a universal list of legal labelling requirements.
Translations need their own approval. The printer should not be expected to decide whether foreign-language care wording is accurate. Keep the reviewed text linked to the artwork revision, and check punctuation, units and line breaks after layout. A sentence can be correct in the copy document but incomplete after being placed into a small panel.
For barcodes, confirm both the encoded identifier and the physical symbol. GS1’s guidance highlights matters such as quiet zones, contrast, symbol size and position, and damage or obstruction on the package. Use the relevant specification for the chosen symbol and application rather than a generic size copied from another box. See GS1’s barcode quality checklist.
As a purchasing control, assign one person to approve the SKU-to-code mapping and arrange the appropriate print-quality verification with the supplier or service provider. A successful scan during a quick office check is useful evidence of that scan, but should not be presented as a complete assessment of all production labels or receiving environments.
Agree how print appearance will be judged
Determine which physical reference controls colour and finish. A photograph on a phone is useful for discussing layout, but it should not be the only reference for a colour-sensitive release. Ask the printer to explain how the reference relates to the selected substrate and process, and which differences may appear between the mockup and production.
Review important panels under agreed viewing conditions. If the project needs measured colour limits, have the printer or qualified specialist define the measurement method, reference and acceptance criteria. Avoid writing a precise tolerance into the purchase order without understanding what will be measured and how a disagreement will be resolved.
Also inspect readability, registration, unwanted marks and the consistency of the intended finish. Separate a defect that prevents sale from a cosmetic preference that was never specified. Photographs of the accepted sample can help explain the decision, but retain the physical reference where appearance is important.
Coordinate bottle and packaging approval without assuming they should look identical. Ink on paper and a coating on metal are different surfaces. For the bottle itself, use a separate bottle colour sample approval process. For the collection, decide whether the intended relationship is a close visual match, a complementary colour or a deliberate contrast.
Keep retail presentation separate from shipping protection
A retail carton may be only one layer of the shipped package. Document how it will sit in the master carton or parcel shipper, including quantity, orientation, dividers and any additional protection. If approval covers only the retail unit, say so explicitly and identify who is responsible for the outer shipping system.
ISTA explains that its procedures evaluate a specific packaged-product system, rather than certifying an individual packaging material by itself. A test result for an empty box or a different product therefore should not be treated as evidence for your bottle configuration. Ask the selected provider to define an appropriate evaluation for the product, packaging and intended distribution route. See ISTA’s explanation of packaged-product testing.
Set the decision criteria before an evaluation takes place. Depending on the project, these may distinguish damage to the bottle, loss of function, unacceptable retail presentation and damage confined to the outer shipper. The buyer and provider should agree the procedure and observations; a casual handling demonstration is not equivalent to a documented test programme.
If a relevant component changes after evaluation, review the applicability of the evidence. ISTA’s retesting guidance addresses product, package and process changes that can affect performance. Keep the approved configuration traceable and discuss changes with the provider rather than silently carrying a result over to a different pack. See ISTA’s retesting guidance.
Use a written release checklist before bulk printing
A release checklist should identify the evidence, the reviewer and the decision. It does not need to become a complicated document. The following structure can be adapted to the supplier’s process, with a separate row or attachment for each SKU where the details differ.
| Release item | Evidence to attach or identify | Hold production when |
|---|---|---|
| Product configuration | Model, lid, accessories and sample reference | The fit sample differs from the ordered build |
| Structure and material | Dieline revision, construction specification and physical sample | A substitution or dimension remains unresolved |
| Packing sequence | Photographs or instructions showing every included item | Accessories interfere with closure or contact surfaces |
| Artwork and factual copy | Released file revision and responsible reviewer | Claims, translations or variant information lack approval |
| Identifiers | SKU mapping and agreed barcode checks | The code, application or print result is unconfirmed |
| Print appearance | Agreed physical reference and acceptance criteria | The sample method does not support the requested approval |
| Distribution protection | Defined packing configuration and applicable evaluation evidence | Required protection evidence is missing or applies to another configuration |
| Commercial release | Quantity by variant, approved cost and release scope | Supplier and buyer disagree on what work is authorised |
Use explicit decisions such as approved, revise and resubmit, or approved for a limited named purpose. If a blank sample is approved for fit only, that decision should not release printed cartons. If a colour correction is still open, identify who closes it and what evidence is required before printing can begin.
The written release should identify the purchase order, packaging revision, approved quantities and the authorised operation. Ask the supplier to acknowledge the same references. A message saying “go ahead” can mean buying board to one person and printing all variants to another; a defined release prevents that ambiguity.
Handle corrections without losing the approved version
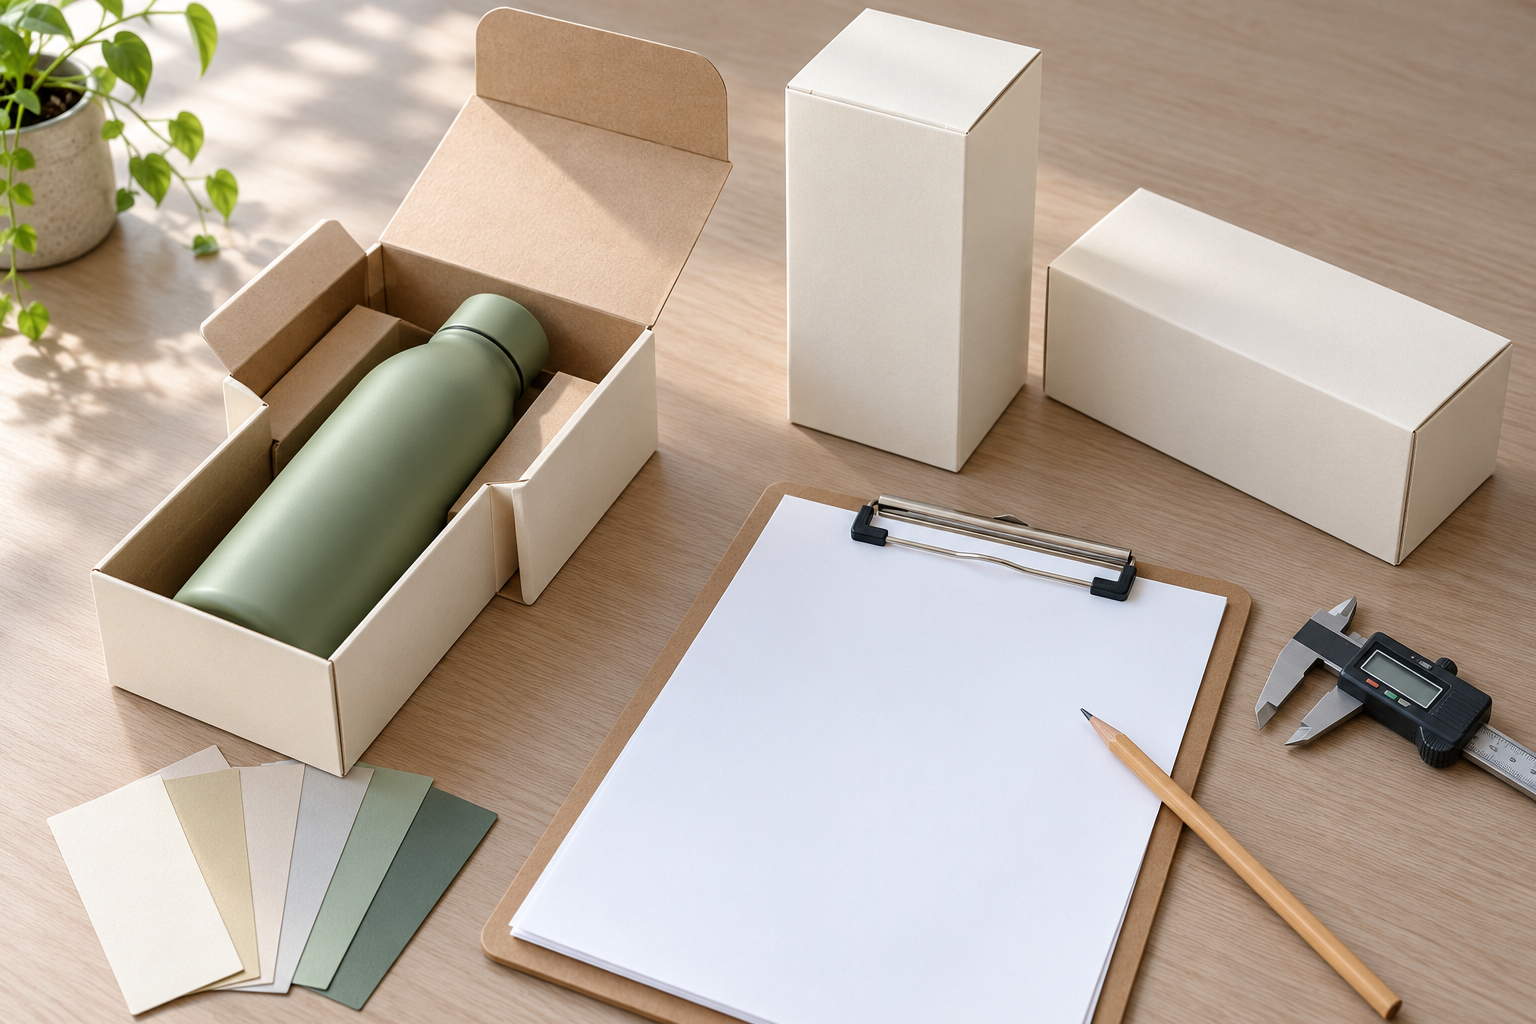
Send one consolidated correction list for each review round. Identify the panel or component, describe the problem, state the requested change and name the person who can approve the response. Mark up a copy of the current revision rather than discussing changes against several different files.
Ask the supplier to return a change summary with the revised proof or sample. Review the changed areas and any dependent details. Moving a panel element can affect nearby copy; changing an insert can alter the packing sequence. Do not assume that a correction leaves every other feature untouched.
Keep superseded files available for traceability but clearly label them as obsolete. Retain an agreed reference sample with the buyer and supplier where practical. The reference should carry the revision and approval scope, so that a future production question is answered against the released version rather than the most convenient sample on a shelf.
A hypothetical approval problem: the sample fits, the order does not
Consider a hypothetical brand ordering a bottle gift set with a silicone boot and a spare straw. The first packaging dummy is made around the bare bottle. It closes neatly, and the brand likes the printed front panel. The buyer is ready to approve the full print quantity.
During the final review, the team packs the complete set. The boot changes how the base sits in the insert, while the straw has no defined position. The box can still be forced closed, but the sample no longer demonstrates the intended retail pack. Approving the attractive front panel would leave the structural question unresolved.
The useful response is to pause release, identify the complete product configuration and request a revised insert and packing sequence. The buyer then checks the revised physical sample, confirms whether the dieline or cost changed, and links the final artwork to the accepted structure. Any required distribution evaluation uses the resulting complete pack.
This example is not an actual ShinyStar project or a measured claim about failure rates. It illustrates why sample approval should follow the contents of the retail box. The avoidable mistake is not requesting a sample too late; it is approving a sample without defining what it represents.
Frequently asked questions
Can a packaging photograph be enough for approval?
A photograph can support discussion of layout or show a visible correction, but it provides limited evidence of fit, material feel and assembly. Decide what the approval covers. For a new structure or uncertain product combination, request a physical sample or other suitable evidence before releasing the affected work. Record any checks that remain outside the photographic review.
Do we need a printed sample for every colour variant?
Review the variable information for every variant, even if the packaging shares one structure. Whether every variant needs a separate physical printed sample depends on the print differences, risk and agreed approval method. A shared construction does not verify each SKU code, product description or artwork file. Document which evidence covers the common design and which covers variant-specific details.
Should the packaging supplier choose the barcode?
The buyer should control the correct product identifier and its relationship to the intended SKU and sales channel. The printer can help prepare the symbol and check the printing requirements, but should not guess which identifier belongs to the product. Agree responsibilities for data approval and physical print verification before the final artwork is released.
Can we approve packaging before the bottle sample is final?
You can develop artwork and a provisional structure while the product is being finalised. A release decision should account for any unresolved dimensions, lid changes or accessories that affect the package. Clearly label provisional work. If the final configuration differs from the fit sample, review the affected structure before authorising production.
What if the supplier cannot make a production-identical sample?
Ask for a written list of differences and an explanation of how the remaining risks will be checked. You may need separate evidence for structure, print appearance and the first production output. Do not label a simulated sample as production-identical. Decide whether the remaining uncertainty is acceptable before committing to irreversible printing or tooling costs.
Does an approved sample guarantee every box will match?
No. It establishes the reference and acceptance basis for production. Agree appropriate in-process and final checks with the supplier, including how deviations will be reported. Keep the released files and physical reference available to the people performing those checks. Sample approval and production inspection serve different stages of the same purchasing process.
How should buyers manage a late artwork change?
First ask what has already been purchased, printed, cut or assembled. Identify the affected quantity and cost before deciding on the correction. Release a new revision explicitly and prevent the old file from being reused. A commercial decision about existing stock should be documented separately from approval of the corrected artwork.
What should we send ShinyStar to begin a packaging sample review?
Send the bottle model, lid and accessory list, order quantity by variant, preferred packaging format, artwork files and target sales channel. Include your required launch date and any retailer packing instructions. ShinyStar can use that brief to discuss the sample scope, available options and project-specific next steps; materials, costs and timing need confirmation for the selected package.
Release the version you can identify and reproduce
The purpose of reviewing custom water bottle packaging samples is to turn a promising design into an agreed production reference. Confirm the complete product, inspect the physical fit, approve the correct artwork and factual information, and separate appearance approval from distribution-performance evidence.
Keep the final decision short but precise: which sample, which file, which construction, which quantities and which operation are approved. Resolve exceptions before the supplier interprets them on the production line. That record gives purchasing, design and manufacturing teams a common reference when the order moves beyond samples.
To discuss packaging for your next bottle order, send your product configuration, artwork and sample requirements through the ShinyStar quote and sample enquiry page. A clear brief makes it easier to agree what needs to be checked before thousands of boxes are printed.